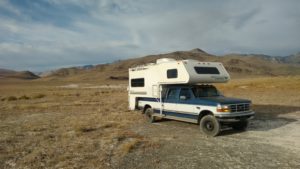
Year: 2000
Make: Fleetwood RV Elkhorn 9T
Backstory
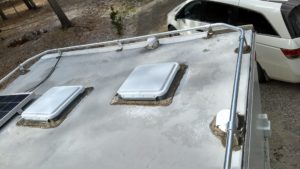
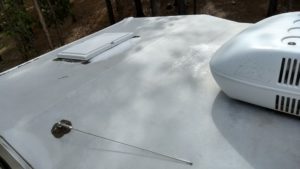
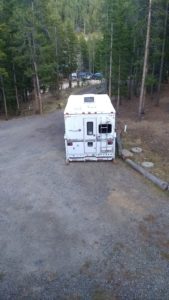
I bought this truck camper in 2009 in Rio Rancho, New Mexico. It was always garaged before coming home with me, but I didn’t have that luxury. It spent the next 8 years out in the New Mexico and Colorado sun. Looking back, I wish I had taken better care of the roof. Stripping off the old goop and refreshing it with new self-leveling sealant around the fixtures and roof penetrations would have preserved the roof for a few more years.
I knew the old sealant was cracking and I attempted to patch it up over the years with silicone (don’t do this), butyl seal tape, and dicor patches. It’s questionable as to whether this half-effort did any good. This past fall I noticed a “bubble” in the bathroom ceiling that felt a little soft. This was at the left rear corner where I’d been trying to patch. I knew it was time to take the roof seriously.
The DIY Decision
I checked around at a couple of RV dealers to get an idea of what a roof repair would cost. I was quoted prices well over what I had paid for the camper back in 2009. They were asking $600 for a 17′ roll of EPDM. Amazon was pricing it out at $17 per foot. How hard can replacing the roof possibly be? With winter already beginning to make guest appearances in October, I decided it was time and ordered everything from Amazon (parts list below).
Replacing the Roof
Step 1: Take Everything Off.
I decided I would start with the old Coleman Mach III A/C unit first. I figured that if this was a fail, I’d still have a roof and could regroup. I started inside the camper and removed the fan speed and temperature control knobs. Then, I pulled the bottom cover off with the two Phillips head screws.

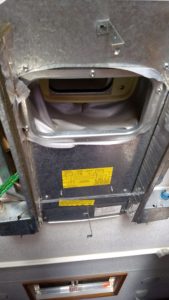
At this point, I double-checked that the camper power was off and unplugged the A/C unit. I removed the metal panel via the sheet metal screws and the somewhat flexible duct. Once the metal panel was out, I removed the 4 corner bolts sandwiching the mounting plate and A/C.
I went back up top and lifted the A/C unit to the side. I was surprised by how heavy the A/C was and decided that given the weight and brittleness of the shroud that I’d leave the unit upside down on the roof and work around it.
Now that the A/C was successfully and, dare I say, easily removed I decided to proceed. I grabbed a gasket scraper, the drill with a 1/4″ driver, and a heat gun. Applying heat to the ancient sun-baked self-leveling sealant helped me scrape off enough of the gunk to get at the bazillion 1/4″ screw heads holding everything together.
Starting with the refrigerator top vent I began heating, scraping, unscrewing, peeling, and prying things off the roof.
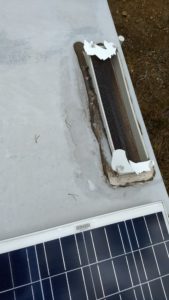
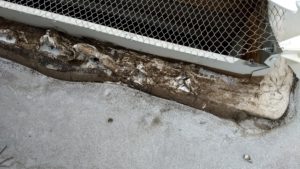
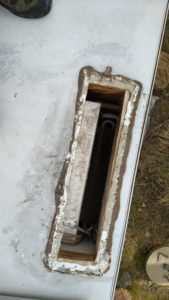
Scraping the goop was slow going.

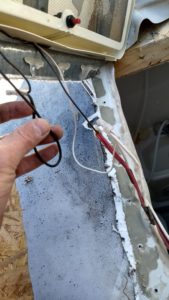
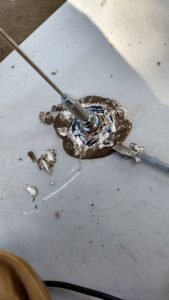
I decided that I wanted as few roof penetrations as possible on my new roof. The FM antenna, satellite coax jack, and roof rack were not coming back.
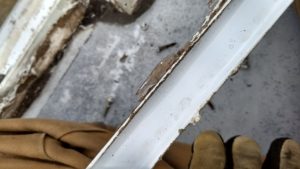
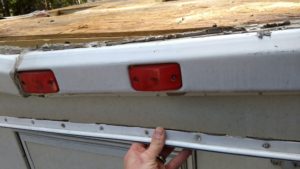
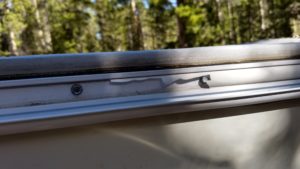
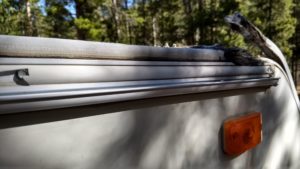
Next, I tackled the front and rear roof corners. These hold the EPDM roof on at all edges. I found another bazillion 1/4″ screws here.
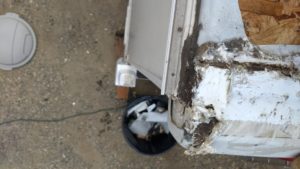
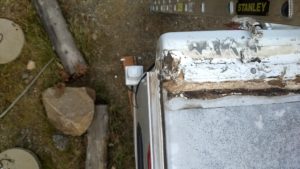
Step 2: Peel off the old EPDM membrane.
The old EPDM membrane was glued down with something NASA must have developed. It took a significant amount of pulling to remove and often the many of the plywood chips decided to part ways with the inferior plywood bonding glue and stay attached to the EPDM.
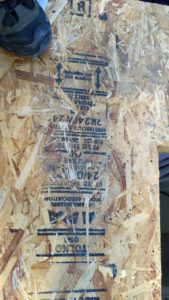
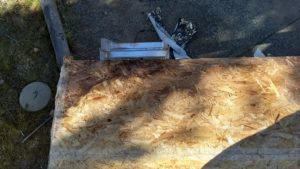
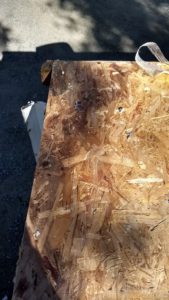
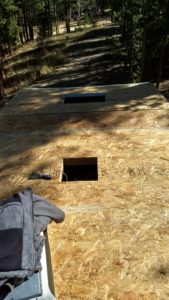
Step 3: Repair the damage.
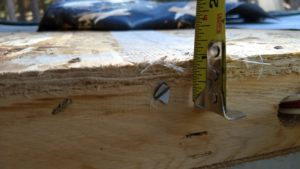
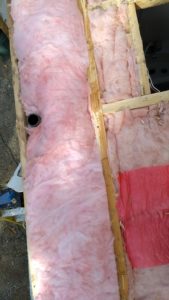
I pulled the end plywood off the roof and replaced the soaked insulation. I was lucky that the luan ceiling was still serviceable. I cut a new piece of 7/16″ plywood and reinstalled it on the roof. I used drywall mesh on the seams.
Step 4: Install new EPDM membrane.
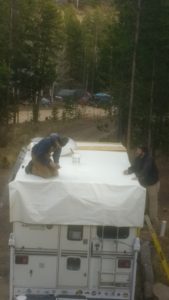
A buddy and I test fit the new EPDM membrane on the roof and then starting working from the front back. I used a paint roller to apply the RV rubber roof adhesive and we slowly worked the EPDM back. We pressed the air pockets out. Thankfully, this membrane was significantly wide enough on the sides to allow for an imperfect placement.
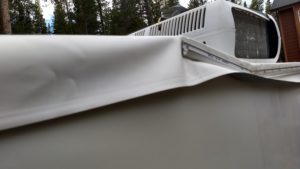
We moved the A/C unit to the front and completed the installation at the back half of the camper. Once the roof was on properly, we installed the side brackets to clamp the new roof down. The roof adhesive allowed for plenty of work time.
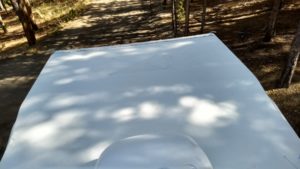
Step 5: Install fixtures.
Since most of the Elkhorn’s roof fixtures were severely sun damaged, I ordered new replacements from Amazon. These were installed with new 1/4″ x 1″ screws, butyl tape, and a liberal application of self-leveling sealant.
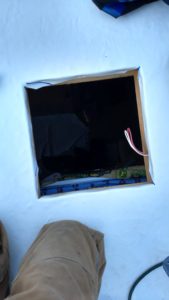
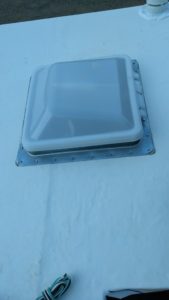
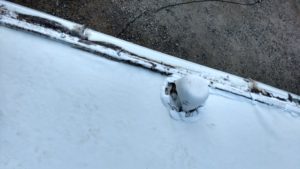
Step 6: Final punch list.
I installed the A/C with new seals, put in all the bazillion screws for all the corner clamps and fixtures. I applied self-leveling sealant liberally on all roof fixtures. I replaced the vinyl trim inserts. The excess EPDM was trimmed. I applied caulking to all edges.
Lessons Learned
There’s a reason that the RV houses had such high quotes to replace the roof. It was a bear, but I’m glad I did it. Looking back, I could have easily prevented the leaks and extended the life of the roof by a few more years with basic maintenance. When the sealant on this roof starts cracking, I’m going to scrape it off and replace it. I’ll coat the EPDM membrane with a dicor sealant when it starts chalking. Hopefully, I’ll get another 17 years out of this roof.
Parts List
2 Ventline RV Roof Vents with 12 Volt Fans
1 Ventmate Coleman Mach III A/C Gasket
2 Ventline White Plumbing Vents
4 30′ rolls of Dicor butyl seal tape
1 Dometic refrigerator vent cap and base
18′ of 8.5′ Dicor EPDM membrane
2 4-packs of Alpha Systems 1021 self-leveling RV roof sealant
1 gallon of Alpha Systems 8011 rubber roof adhesive (used about 3/4 gallon)
1 Heng’s 17″ x 24″ escape hatch
1 100′ roll of Camco 1″ vinyl trim insert
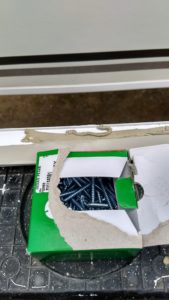
2 boxes of 1/4″ x 1″ screws
2 boxes of 1/4″ x 1 1/14″ screws
1 4′ x 8′ sheet of 7/16 plywood
1 roll of insulation
